Cost: $800+
Time: 2+ Weeks
Skill Level: Advanced
Are you dreaming of an outdoor kitchen and debating whether to hire a professional or take on the challenging process of how to build an outdoor kitchen yourself? Do you want to cook outside so you don’t feel separated from the party?
In this article, you can learn the 15-step process for how to build an outdoor kitchen into your outdoor living space. You can find out the tools and materials you will need to. By the end of this post, you will have a better idea of if building your own outdoor kitchen is a job you can (or want) to do.
-
Tools
- Circular saw
- Drill
- Masonry hoe
- Trowels
- Wet tile saw
- Gloves
- Safety goggles
- Ear plugs
- Respirator
- Staple gun (optional)
- Heavy-duty scissors
-
Materials
- 2×4 posts
- Plywood
- Countertop
- Sheathing plywood
- Exterior screws of various lengths
- Construction glue
- Roofing nails
- Mortar mix
- Mortar trough
- Builder’s belt
- Wire lath
- Galvanized nails
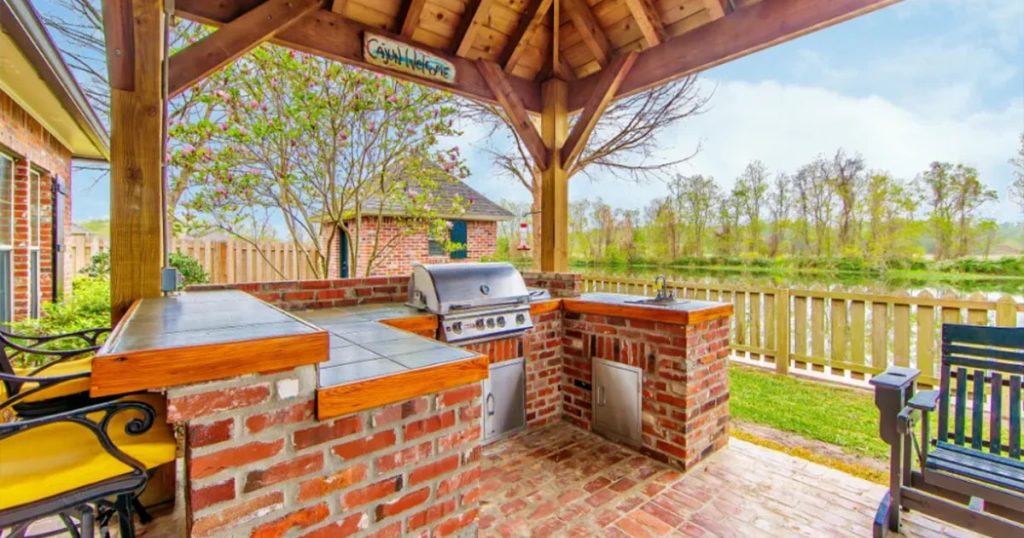
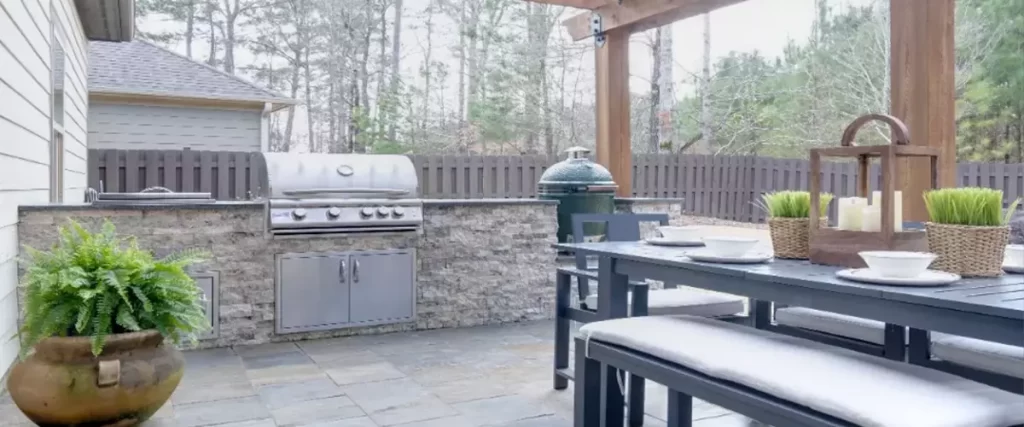
How To Build An Outdoor Kitchen In 15 Steps
1. Build The Frame
2. Connect The Sections
3. Attach Plywood Sheaths
4. Cover Plywood With Builder’s Felt
5. Nail Wire Lath Sheets To The Plywood
Once your plywood is covered with builder’s felt, you can begin nailing wire lath sheets to it. The wire lath will help strengthen and reinforce your structure while also providing places for concrete or mortar to adhere to once it has been applied. Make sure that you use galvanized nails when attaching your wire lath sheets, as they are more resistant to rust and corrosion than regular nails.
Start at one corner of the plywood sheet and work outward, overlapping each sheet by at least 4 inches. Once all of your wire lath sheets have been nailed down securely, it’s time for trimming!
6. Trim The Lath
7. Apply Mortar On The Lath
8. Score The Mortar
9. Butter Back Of Tile Or Stone Veneer
10. Attach Tiles Or Stone Veneer
11. Cut Tile Or Stone Veneer To Fit
Measure any areas that need custom sizing for your tile or stone veneer pieces, such as around corners and tight spaces. Make sure to take into account any existing outlets and switch plates before cutting anything too short.
When all measurements are taken, use a jigsaw to cut along the lines marked off earlier. Remember to wear safety goggles while cutting. After all of the pieces have been cut, sand down any rough edges with sandpaper until they are smooth and flush with the rest of your outdoor kitchen’s surface.
12. Finish Laying Tile Or Stone Veneer
Once all custom pieces have been added, fill in any gaps between tiles/stone veneers with grout using a putty knife—make sure not to overfill! Allow the grout time to dry after application before proceeding further; following manufacturer instructions can help determine how long this process takes based on temperature and humidity levels in your area at any given time.
After drying, wipe away any excess grout with a damp cloth. You may also want to seal off your finished product for extra protection against water damage and general wear and tear. Do this by applying sealant overtop of everything using a paintbrush according to manufacturer instructions (usually once every few years).
13. Install Countertops
You should use countertops that are designed specifically for outdoor use since they will be durable and able to withstand weather conditions. You can also choose from a variety of materials, such as granite, quartz, concrete block, etc. Natural stone tends to be the easiest to maintain, though it can be pricier than some other materials.
Once you have chosen your countertop material, make sure to measure the area where it will be installed and cut it to size. Then secure it into place using screws or adhesive, depending on what type of material you are using.
14. Install Cabinet Doors
15. Install Grill And Other Fixtures
Popular Features For Outdoor Kitchens
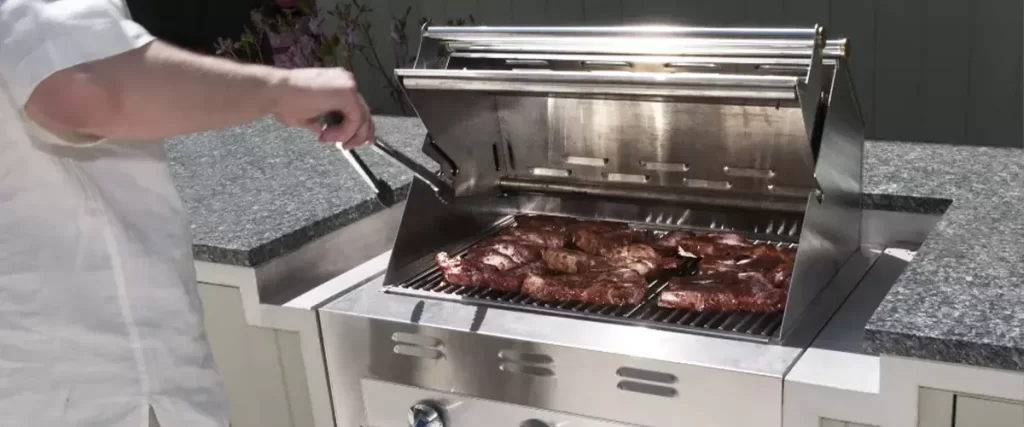
- Natural gas grill
- Outdoor grill island
- Wood-fired pizza oven
- Wet bar
- Kegerator
- Fire feature
- Ice maker
- Pergola
- Gazebo
- Storage space
- Outdoor sink
Popular Features For Outdoor Kitchens
Crafting an outdoor kitchen of your own has the potential to transform your outdoor space into a dreamy weekend getaway. From picking out the perfect spot for cooking and entertaining to selecting appliances and materials that fit your lifestyle, building an outdoor kitchen requires diligence and patience.
Farrell’s Lawn & Garden team is here to help you execute every step of your kitchen’s design so that you can create your ideal social retreat. We have the resources to help customize the features or aesthetic touches you need.
If you’ve been dreaming up the perfect plan for your spectacular cooking corner in paradise, fill out our contact form today to begin making it a reality!