Cost: $200-$1,500+
Time: 1+ Weeks
Skill: Advanced
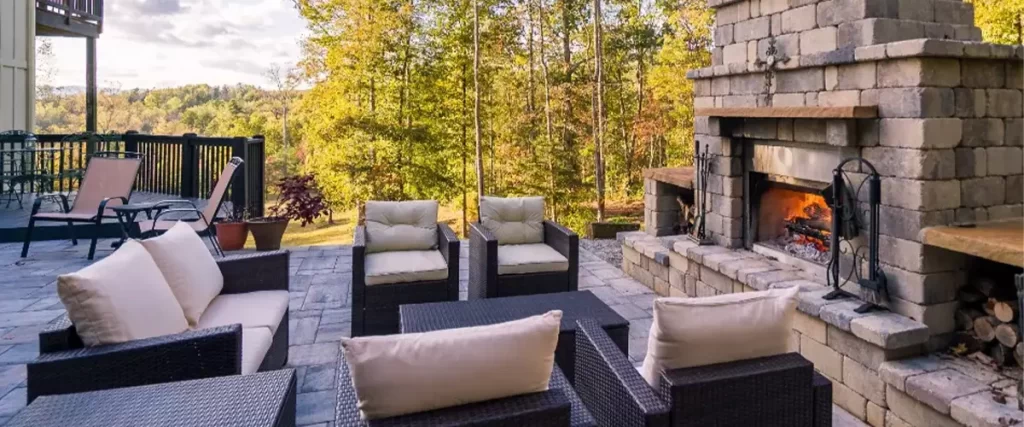
Are you looking for an affordable way to add a cozy, inviting atmosphere to your outdoor living space? Would an outdoor fireplace be the perfect way to do this?
You can learn the process of how to build an outdoor fireplace right here! By the end of this post, you’ll know if this is a project you want to DIY or if hiring a professional will be worth it.
There is a different process for building an outdoor fire pit.
-
Tools
- Gloves
- Tape Measure
- Big Square
- Bubble Level
- Mortar Mixing Pan
- Stakes
- Hoe
- Shovel
- Concrete Trowel
- Hammer Masonry
- Saw
- Hammer Tamp Hack
-
Materials
- Nails
- Masonry
- Nails Mortar
- Quikrete
- Pressure-treated wood boards
- Rebar
- Steel Angles
- Full Concrete Cinder Blocks
- Half Concrete Cinter Blocks
- Hearth Blocks
- Mantle Blocks
- Stone Veneer
- Cement Backer Boards
- Metal Flue Caps
- Gravel
14 Steps For How To Build An Outdoor Fireplace
*You can also purchase an outdoor fireplace DIY kit if you would like some extra help. We recommend using caution when building a fireplace as it involves advanced techniques and moving heavy objects.
1. Research Local Codes And Restrictions
Before you build an outdoor fireplace, look up the building codes for your state, city, and HOA. You might need to stay a certain distance from other buildings or your property line. You might also need to put up a special screen that keeps flying sparks from starting fires.
Different towns have different rules about outdoor fireplaces.
- Some towns require a special license or permit to have one.
- Some towns only allow certain types of fuel, like wood or gas.
- The law may also say how tall the chimney has to be.
- Most neighborhoods have rules that the fireplace must be at least 10 to 20 feet away from any buildings, trees, and fences.
These rules are usually put in place to protect people and the fireplace itself.
Make sure to check with your insurance company to see if your home insurance policy covers any damage that could be caused by a backyard fireplace. Also, be sure to call DigSafe (811) before you start building the fireplace so that they can help you avoid any underground wires.
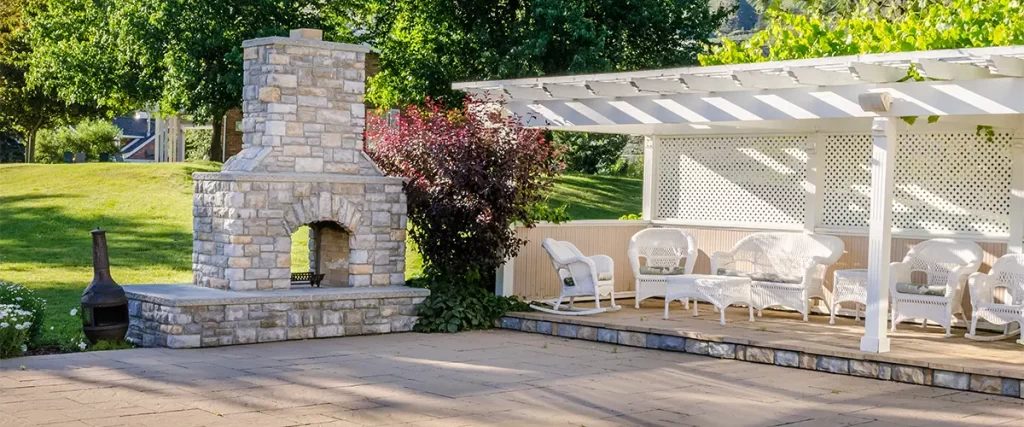
2. Choose Your Location
When selecting a location for your outdoor fireplace, consider factors such as convenience, views from inside your home, privacy from neighbors, access to electrical outlets (if needed), and safety for pets and kids.
It is better to have your fireplace in an area where there are no trees nearby. This way, if any sparks fly out, they will not land on the trees and start a fire.
Also, when choosing where to build your fireplace, think about how the wind blows in your backyard and around your home. You don’t want the smoke from your fire blowing into your or other people’s houses or your face.
3. Create A Level Area For Your Fireplace Pad
Once you have chosen the perfect spot for your outdoor fireplace, it’s time to create a level area for it. You may need to remove vegetation or grade the soil in order to create a flat surface suitable for laying down a base layer of gravel or brick pavers. Lay down a 2-inch layer of gravel and flatten it with the tamp.
4. Build A Fireplace Pad Form
Build up the base of your outdoor fireplace using pressure-treated lumber. Start by measuring out the dimensions of your pad form, then use the pressure-treated wood to create the frame for it.
Use the big square to make sure the pad is straight, and use the level to ensure it’s flat. Put the stakes around the edge to keep it even once you pour the Quikrete.
5. Use Quick-Set Concrete To Create Fireplace Pad
Build up the base of your outdoor fireplace using pressure-treated lumber. Start by measuring out the dimensions of your pad form, then use the pressure-treated wood to create the frame for it.
Use the big square to make sure the pad is straight, and use the level to ensure it’s flat. Put the stakes around the edge to keep it even once you pour the Quikrete.
6. Allow Concrete To Cure
Once all sides are level and filled with concrete, allow it time to cure before continuing on with construction on your outdoor fireplace structure. This should take about 24 hours; if necessary, cover or protect it during this time in order to avoid any weather damage or external elements that could interfere with the curing process.
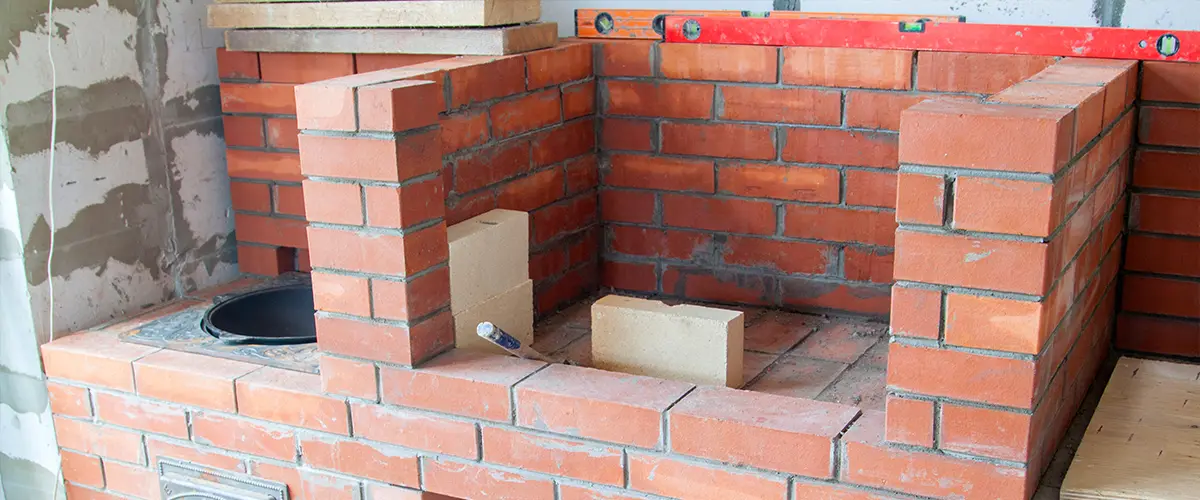
7. Stack Concrete Blocks To Build The Firebox
Building the firebox itself is relatively straightforward. Start by stacking concrete blocks in a square or rectangular shape, depending on the size you want your firebox to be. Make sure that each block is level with its neighbor before moving forward with construction. Put mortar between each level of blocks, including the bottom one.
Put the blocks on each level so the seams from the lower level are in the middle of the upper block.
8. Line The Firebox With Firebrick
After you have placed all of the blocks in the correct position, add firebricks to them. This will give extra protection and make them last longer. The firebricks will act as a barrier between the burning logs and other things that could catch on fire.
It’s best to use mortar when installing the bricks so they stay in place once everything has been set up properly.
9. Set The Steel Angle And Build The Lintel
10. Build A Smoke Chamber With ‘Staircase’ Sides
The first step in building your smoke chamber is to build its walls with what’s known as “staircase sides.” This method involves constructing each wall with two layers of brick set on alternating vertical edges.
The first layer should be placed on the end with one course per wall. The next layers should be built on top of the last in a staggered pattern. This will create an angled surface that helps air to flow up into your chimney more efficiently.
11. Build The Chimney Square And Level
Once you have finished constructing your smoke chamber walls, it’s time to start building your chimney. Begin by laying out bricks in a square pattern and using a level to ensure that each side is square and level before continuing on with construction.
After you build up each side of your chimney a little bit, it is important to check if the sides are still level with each other. You will need to do this every few courses until you reach the desired height for your chimney.
12. Attach The Chimney Cap
Now that you’ve finished constructing your smoke chamber and chimney, it’s time to attach the cap or crown. The cap is designed to seal off the opening at the top of your chimney so that water doesn’t enter through it during rain or snowstorms. It also serves as an anchor point for any additional flashing or waterproofing materials you may need around the base of your chimney stack.
Make sure the cap is on tight according to the manufacturer’s instructions before you do anything else to waterproof your new smoke chamber or chimney stack.
13. Add Mantle Blocks (Optional)
14. Let Fireplace Cure For 72 Hours
What are the Best blocks for building a fireplace?
Normal bricks will never work when building an outdoor fireplace because they won’t withstand all that constant heat. Naturally, you’ll want to use blocks that are fire-resistant, and that won’t crack very easily.
Here are some of the best fireplace bricks:
Types of Blocks/Bricks for Outdoor Fireplaces
| Type of Block/Brick | Description |
|---|---|
| Firebrick (Refractory Brick) |
|
| Concrete Blocks (CMUs) |
|
| Natural Stone |
|
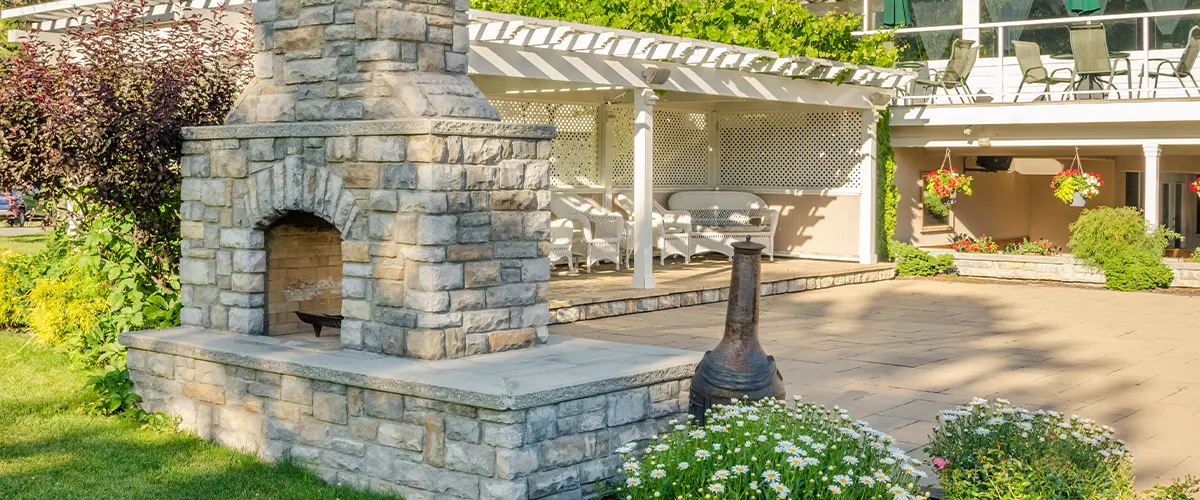
Create Your Cozy Outdoor Living Space With Farrell’s Lawn & Garden Center
Whether you’re looking for an outdoor fireplace, an accompanying patio, or the perfect landscape design, Farrell’s Lawn & Garden Center has the tools and resources in place to make your dreams come true.
Our installations are top-notch, and our level of service is unmatched by anyone else in the industry. Plus, our team of professionals will be with you every step of the way -from concept to installation to ensure everything goes smoothly.
The time has come to start enjoying your hard work and experience ultimate relaxation in your newly renovated backyard oasis – so don’t wait any longer! Fill out our contact form today, and let us get started creating your dreamy outdoor living space!
Frequently Asked Questions
Although you might be able to build the outdoor fireplace on your own, can you guarantee it’s safe and lasting? Unless you have some masonry experience and you know how fireplaces and firepits work, we suggest you work with an expert who knows the building codes in Ohio. Farrell’s Lawn and Garden Center can build you a spectacular outdoor fireplace without you breaking the bank!
A fireplace is a very flexible feature to which you can add a lot of other upgrades. Generally, our most affordable fireplaces start from $3k for a basic fireplace construction and can go all the way up to $20k for a big fireplace equipped with a lot of other features, like grills, lighting, speakers, and more.
We haven’t had any complaints or issues with the hundreds of fireplaces we’ve built. While we’ve heard of some fireplaces that collapsed or started a fire, none of these were built by experts. If you want a fireplace that’s safe for children to be around and that you can use for a lifetime, get the job done by a pro.
No. Normal bricks can’t withstand the high temperature inside a fireplace. If you use normal bricks, these will crack much easier, and your fireplace will most likely collapse.